Do you know a Teenage Mutant Ninja Turtle fan? Well today I’m sharing a super easy TMNT Icon Shirt Tutorial.
I went to a cute little (ninja turtle obsessed) boys birthday party and knew that he need his own one of a kind TMNT shirt. You see he’s a HUGE fan of Leonardo.
I also happened to decide he needed this just a few hours before his party. AND I sewed the actual shirt part. SO when I see this is a fast and easy project that’s what I mean. You totally DON’T have to sew a shirt but honestly it was faster for me to make one instead of drive somewhere hoping to find a plain shirt in a color that would work. I used Peek-a-boo pattern shop’s Happy Feet shirt pattern and some fabric from Joann
What You Need
- Shirt
- Heat Transfer Vinyl
- Cricut Explore
- Iron or Heat Press
What to Do
- Search for Pizza, Turtle, and Mask in Cricut Design Space (the free program that comes with the Cricut Explore) and you’ll be able to find the images I used. You can see the original images on the bottom row and then the ones in yellow are how I made it look right before I cut them out.
- For the Pizza I made all the layers one layer so it would cut it all out of one color.
- For the Turtle I hid everything except for the shell layers. Then I made the outside rim the same layer as the rest of the shell.
- For the Mask all I needed to do was resize it.
- Measure the width you want them to take up on your shirt and position and size them them accordingly. Then select all and “attach” them.
- Cut out using your cutting machine (for more on this step see my long How to Use Heat Transfer Vinyl article)
- Peel off the negative space.
- Position it on your shirt.
- Iron it on.
Fun right!? And also be sure to check out these other great TMNT ideas!

Easy TMNT Icon Shirt Tutorial
Supplies
- Shirt
- Heat Transfer Vinyl
- Cricut Explore
- Iron or Heat Press
Instructions
- Search for Pizza, Turtle, and Mask in Cricut Design Space (the free program that comes with the Cricut Explore) and you’ll be able to find the images I used. You can see the original images on the bottom row and then the ones in yellow are how I made it look right before I cut them out.
- For the Pizza I made all the layers one layer so it would cut it all out of one color.
- For the Turtle I hid everything except for the shell layers. Then I made the outside rim the same layer as the rest of the shell.
- For the Mask all I needed to do was resize it.
- Measure the width you want them to take up on your shirt and position and size them them accordingly. Then select all and “attach” them.
- Cut out using your cutting machine (for more on this step see my long How to Use Heat Transfer Vinyl article)
- Peel off the negative space.
- Position it on your shirt.
- Iron it on.
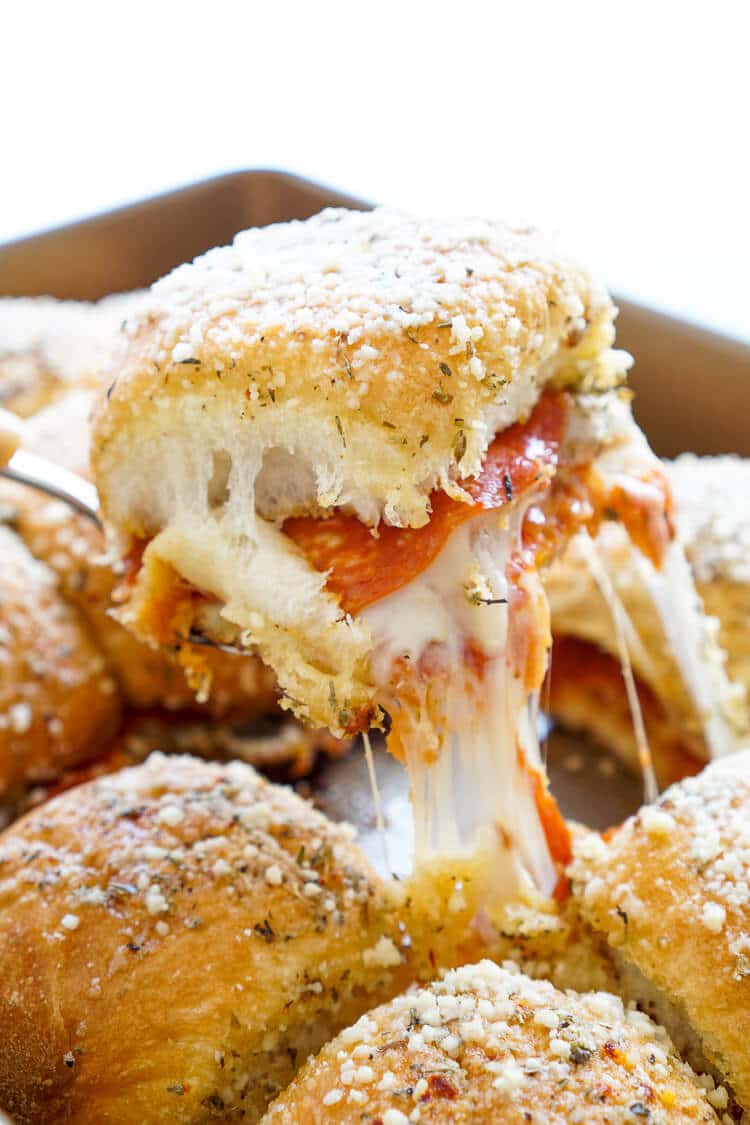
Easy Pizza Sliders by Sugar & Soul
TMNT Sewer Slime Gak by Happiness is Homemade
JOIN THE COOL KIDS
Get quick and easy recipes + crafts straight to your inbox!


Marilyn says
Your shirt is so fun! Stumbled & Pinned! :)
Chelle says
LOVE this! I am SEW going to make a shirt JUST like this for my 30-ish daughter. She’s gonna LOVE it!! Thanks Marissa!!
Bren says
What an adorable shirt! OH how I wish for your sewing abilities!
marissa says
oh you can so do this! The pattern is very easy to follow
satrntgr says
That is adorable!! How fun for a turtle party! Thank you for sharing with us at the #HomeMattersParty