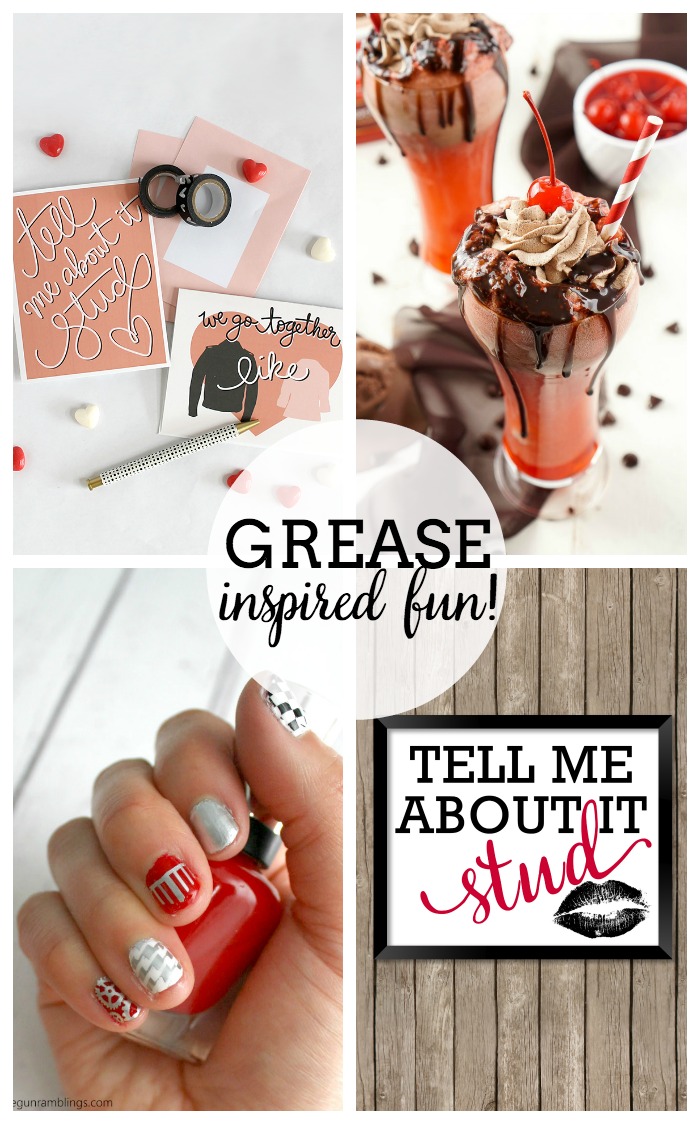
You guys I freaking love how my Grease Lightning nails turned out. They were so easy too I made a tutorial.
If you want to remind yourself what the Grease Lightning cars (both dream version and actual) look like have a little song break :)

What You Need
Nail Stamping Plates
- Gears: BPL-022 12.5 x 6.5cm
- Lightning Bolts: BP-L012 12.5 x 6.5cm
- Checkered Flags: BP-L006 12.5 x 6.5cm
- Car Grills: BP-L009 12.5 x 6.5cm
Nail Polish
- Silver
- White
- Red
- Stamping Polish Black Nail Polish
- Stamping Polish Silver Nail Polish
Nail Stamping Basics
- Base Coat
- Top Coat (needs to be stamping friendly)
- Nail Polish
- Stamping Polish
- Scraper (you can use an old gift card but I love this little one)
- Stamping Plates
- Stamper (this is my favorite)
- Clean up stuff: nail polish remover (for the plate and scraper), tape (for the stamper), clean up pen or brush (for your fingers)
- I like to plan out my nails when I’m not doing all the same thing. That way I know what color goes down first and it makes it easier to do the same color at a time.
- If using a base coat (which will make it last longer and I like this base coat) start with that.
- Then paint the base color of each nail how every many coats to your liking. I usually do 2.
- Now prep your station for stamping. Have all your supplies out including a cotton pad with acetone or nail polish remover on it ready to go.
- Using STAMPING POLISH put a coat on your stamping plate. With a 45 degree angle swipe off excess polish. This will take practice to get the right feel don’t be discouraged if you have to do it a few times. Even now I have to do some a couple times. In the beginning it will take more than a couple.
- With a rolling motion (as opposed to a press and smoosh) roll the stamper over the stamping plate so that it picks up the polish. These steps should move fast.
- Then with the same motion roll and press onto your nail to transfer the polish to your nail.
- Repeat with all designs.
- Use a clean up pen or brush with acetone to remove any bits that go on your skin.
- Use a stamping friendly top coat (I like this top coat for stamping).
- If desired you can add another top coat for extra protection (any top coat is fine at this step) just make sure to wait until the first is dry.
- I like to use a polish hardener to speed up the drying on my very last coat.
- Admire your nails and send me a picture ;)
I really do love stamping my nails. But you should know there is a learning curve it can be frustrating at first. I wrote a post full of nail stamping basics and tips you should check out if you’ve never tried nail stamping before. It’s super fun and once you get the feel for it it goes relatively fast.

Grease Lightning Nails Tutorial
Supplies
Nail Stamping Plates
Nail Polish
Nail Stamping Basics
- Base Coat
- Top Coat needs to be stamping friendly
- Nail Polish
- Stamping Polish
- Scraper you can use an old gift card but I love this little one
- Stamping Plates
- Stamper this is my favorite
- Clean up stuff: nail polish remover for the plate and scraper, tape (for the stamper), clean up pen or brush (for your fingers)
- Step by step instructions for how to stamp nails. Plus the cutest grease lightning inspired manicure
Instructions
- I like to plan out my nails when I’m not doing all the same thing. That way I know what color goes down first and it makes it easier to do the same color at a time.
- If using a base coat (which will make it last longer and I like this base coat) start with that.
- Then paint the base color of each nail how every many coats to your liking. I usually do 2.
- Now prep your station for stamping. Have all your supplies out including a cotton pad with acetone or nail polish remover on it ready to go.
- Using STAMPING POLISH put a coat on your stamping plate. With a 45 degree angle swipe off excess polish. This will take practice to get the right feel don’t be discouraged if you have to do it a few times. Even now I have to do some a couple times. In the beginning it will take more than a couple.
- With a rolling motion (as opposed to a press and smoosh) roll the stamper over the stamping plate so that it picks up the polish. These steps should move fast.
- Then with the same motion roll and press onto your nail to transfer the polish to your nail.
- Repeat with all designs.
- Use a clean up pen or brush with acetone to remove any bits that go on your skin.
- Use a stamping friendly top coat (I like this top coat for stamping).
- If desired you can add another top coat for extra protection (any top coat is fine at this step) just make sure to wait until the first is dry.
- I like to use a polish hardener to speed up the drying on my very last coat.
- Admire your nails and send me a picture ;)
Now, since we are all in agreement that Grease is still the word, here are a few more ideas that you might love!
Cherry Chocolate Floats from Sugar & Soul
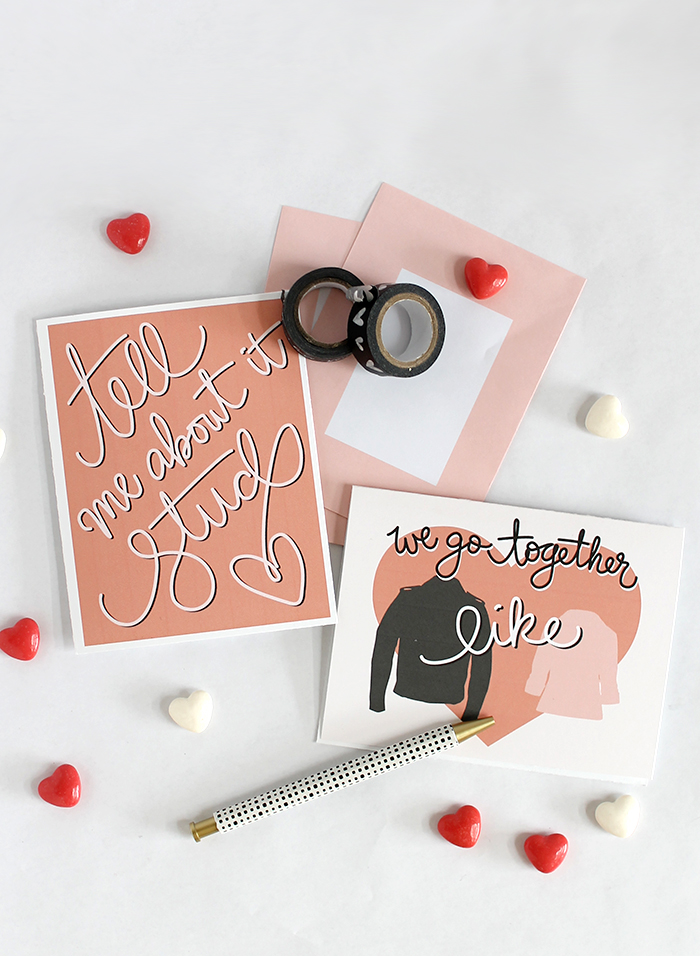
Grease Inspired Printable Valentines from Persia Lou
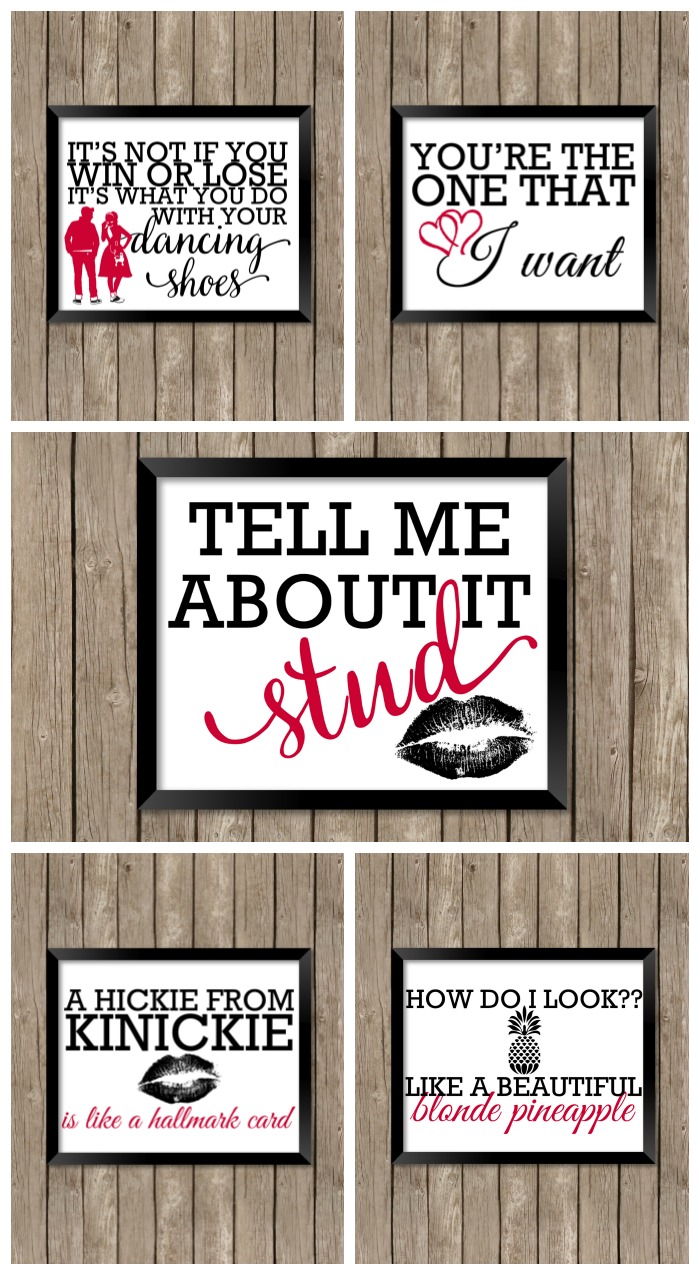
Grease Printables from The Love Nerds
Let’s connect! You can also find me hanging out here.


Akaleistar says
What a fun idea for a manicure! Your nails look awesome :)
Marie says
Those gears are absolutely awesome! I want to do them in gold for a steampunk look! Thanks for sharing at Merry Monday!